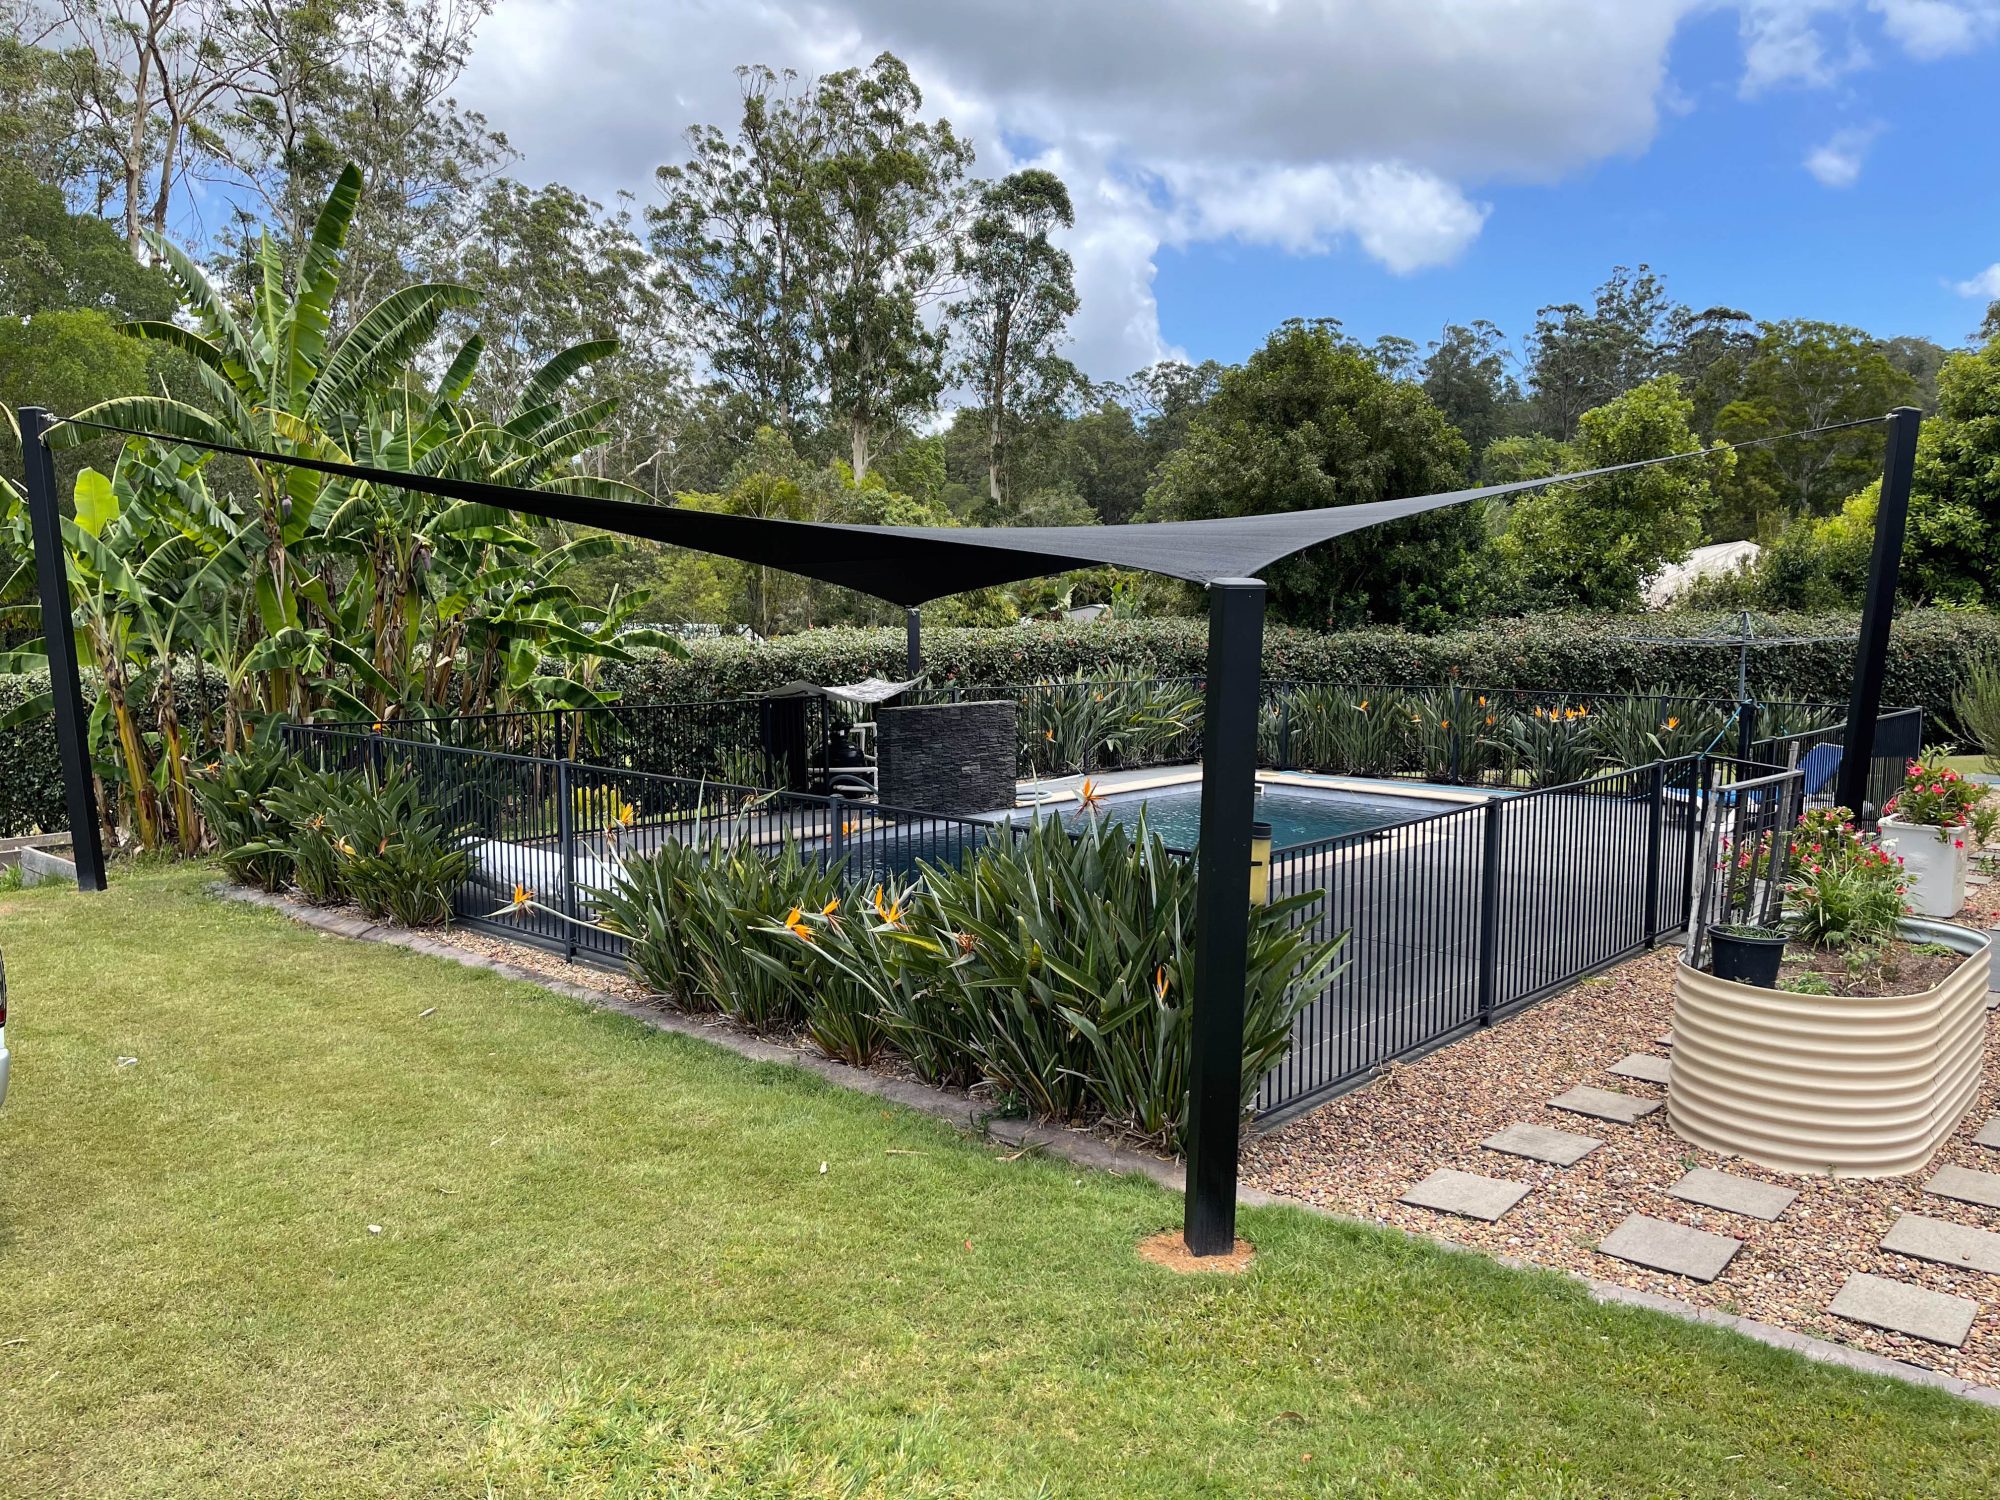
Winter on the Sunshine Coast is mild compared to most of Australia, but it still brings the conditions that wear shade sails down fastest: strong westerly winds, heavy dew, and long stretches where a sail sits unused and unchecked. The good news is a bit of maintenance now saves you from paying for a full replacement come spring.
This checklist walks you through what to do with your shade sail over the cooler months, whether you leave it up or take it down, so it’s ready to go the moment summer heat returns.
Why Winter Maintenance Matters for Shade Sails
Shade sails aren’t just a summer accessory you can ignore for six months. Winter conditions, even our relatively gentle Sunshine Coast version, put real stress on fabric, stitching, and hardware.
Risks of Leaving a Shade Sail Up Through Winter
The biggest culprit locally isn’t snow or ice, it’s wind. Winter storm fronts and gusty westerlies can hit a sail that’s lost tension over a long, hot summer, and that slack is exactly what lets fabric flap, chafe against fittings, and eventually tear.
Other regions deal with snow load and ice buildup, which can stretch fabric well beyond its rated capacity and damage the frame. Even without snow, moisture sitting in folds or low points of a sail encourages mould and mildew, which weakens fibres over time.
Common Types of Winter Damage
Keep an eye out for these issues, which tend to show up after a season of neglect:
- Tears and fraying, usually starting at seams or stitching points
- Stretching or sagging, from repeated wind loading on a slack sail
- Pole and post damage, including bent poles or loosened footings
- Corroded hardware, where turnbuckles, D-rings, and cables have been exposed to damp weather
- Mildew staining, particularly in shaded, poorly ventilated corners
Should You Take Down Your Shade Sail for Winter?
For most Sunshine Coast homes, you can safely leave a well-installed, good-quality sail up year-round. It’s a different story if your sail is older, poorly tensioned, or you’re expecting a particularly wild storm season.
When It’s Safe to Leave a Sail Installed
Leaving your sail up makes sense if:
- It’s made from a durable, UV-rated fabric designed for year-round exposure
- The posts, footings, and fixings are all in solid condition
- You’re prepared to check and adjust tension periodically through winter
- Your property isn’t in an exposed, high-wind location
When You Should Remove It
Take it down if the sail is more than a few years old and showing wear, if hardware is already loose or corroded, or if you know severe storms are forecast. It’s also worth removing a sail if you won’t be using the space for months and would rather protect the fabric than risk storm damage while no one’s around to check on it.
Signs Your Region’s Climate Requires Removal
While the Sunshine Coast doesn’t get snow, our storm season crossover and cyclone-adjacent weather patterns mean strong, sudden winds are the real risk factor. If your property has previously seen fence damage, trampoline movement, or trees losing large branches in wind events, treat that as a signal your shade sail is at risk too. For more detail on how sails hold up in rough conditions, see our guide on whether shade sails can withstand strong winds and extreme weather.

How to Prepare Your Shade Sail for Winter Storage
If you’ve decided to take the sail down, doing it properly now prevents a nasty surprise in spring.
Step 1: Cleaning the Sail Before Storage
Never store a dirty sail. Dust, pollen, bird droppings, and tree sap left in the fabric attract mould and can stain permanently over winter. Follow a proper wash process, not just a quick hose-down, before you pack it away. Our guide on how to clean a shade sail covers the safest method for different fabric types.
Step 2: Drying Thoroughly to Prevent Mould and Mildew
Lay the sail flat or hang it in a well-ventilated area until it’s completely dry, front and back. Even a slightly damp sail folded into storage will develop mildew within weeks. In humid Sunshine Coast conditions, give it longer than you think it needs.
Step 3: Folding and Rolling Techniques
Rolling is gentler on the fabric than folding, since it avoids sharp creases that weaken the material over time. If you do fold it, vary the fold lines each time you store it so you’re not stressing the same seams repeatedly.
Step 4: Choosing the Right Storage Bag or Container
A breathable storage bag protects against dust and pests while still allowing any residual moisture to escape. Avoid airtight plastic tubs or bags, they trap moisture and accelerate mildew growth.
Best Practices for Storing Shade Sails Over Winter
Where and how you store the sail matters almost as much as how you clean it.
Ideal Storage Locations
A dry shed, garage, or indoor storage area is ideal. Avoid anywhere prone to dampness, direct sunlight through windows, or extreme temperature swings, all of which degrade fabric and coatings faster.
Protecting Hardware, Turnbuckles, and Cables
Remove turnbuckles, shackles, and cables if practical, and store them separately in a dry container. A light coating of anti-corrosion spray on metal fittings prevents rust from setting in over winter.
Labelling and Organising for Easy Spring Reinstallation
Label each sail and its hardware if you’ve got multiple sails or a complex multi-point install. A quick photo of the setup before you dismantle it is a simple trick that saves a lot of head-scratching come reinstallation day.
How to Winterize a Shade Sail You’re Leaving Installed
If you’re keeping your sail up, a few adjustments make a real difference to how it copes with winter weather.
Reducing Tension to Handle Wind Load
Slightly reducing tension can help a sail flex with gusts rather than fight against them, reducing strain on seams and fixing points. It’s a balance though, too loose and you get flapping and chafing, so check manufacturer guidance or ask a professional installer if you’re unsure.
Reinforcing Anchor Points and Poles
Check every post, footing, and anchor bolt for movement or corrosion before winter storms hit. Tighten what needs tightening and consider additional bracing on exposed installations.
Regularly Clearing Debris Buildup
Even without snow, leaves, branches, and pooled rainwater can add unexpected weight and strain to a sail. Check after every significant storm and clear anything that’s collected in low points.
Inspecting for Wind Damage After Storms
Get into the habit of a quick visual check after any big blow: look for new tears, stretched fabric, loosened fittings, or a pole that’s shifted. Catching damage early is far cheaper than waiting until a small tear becomes a full write-off.
Inspecting Your Shade Sail Before and After Winter
Whether it’s been up or in storage, a thorough inspection before spring use is non-negotiable.
Checking for Rips, Fraying, and UV Wear
Run your hands along seams and check the fabric against light for thinning patches. UV degradation shows up as brittleness or fading well before an actual tear appears.
Testing Hardware, D-Rings, and Stitching
Check every D-ring, turnbuckle, and stitched corner for wear. Pull gently on stitching to test for looseness, and replace any corroded hardware before reinstalling.
When to Repair vs Replace
Small tears, worn stitching, or a single damaged fitting are usually repairable. If you’re seeing widespread UV degradation, multiple tears, or the sail is more than seven to ten years old, replacement is usually the better investment. Our team offers dedicated shade sail repair services if you’re not sure which side of that line your sail falls on.
Preparing Your Shade Sail for Spring Reinstallation
Post-Winter Cleaning Checklist
Before reinstalling a stored sail, give it a final clean to remove any dust picked up during storage, and check again for any mildew spots that appeared while packed away.
Retensioning and Reinstalling Safely
Reinstall following the same tension and angle as the original setup, ideally using your labelled photos as a reference. If you’re at all unsure about correct tensioning, our shade sail installation guide walks through best practice, or you can book a professional install to make sure it’s done right the first time.
If your current sail isn’t holding up to the job anymore, it might be time to look at a custom-made shade sail built specifically for your property’s wind exposure and sun angles, rather than patching up a generic one year after year.
Frequently Asked Questions
Can you leave a shade sail up all year?
Yes, if it’s a good-quality, UV-rated sail with solid posts and fittings. On the Sunshine Coast, wind is the bigger risk than cold, so check tension and hardware regularly rather than removing it purely for winter.
What is the lifespan of a shade sail?
Most quality shade sails last around seven to ten years with proper care, though cheaper fabrics or poorly maintained sails can wear out much sooner.
What is the disadvantage of a shade sail?
Shade sails need regular tension checks, cleaning, and hardware maintenance to perform well, and they can be vulnerable to strong wind damage if not installed or tensioned correctly.
How do you maintain shade sails?
Clean them regularly to remove dust, pollen, and sap, check tension and hardware every season, inspect for tears or UV wear, and store the sail properly if removing it for extended periods.